Add a Discord Channel
What You Need Before You Start
| Requirement | Purpose |
|---|---|
| Discord account | Used to create a server, channel, and developer application. |
| A Discord server | The bot must join a server before it can access a channel. |
| A text channel | Images and files will be sent to this channel. |
| Discord Developer Portal | Used to create an application, create a bot, and get the Bot Token. |
Where to Add It
- Open System Settings.
- Go to Upload Settings.
- Click Add Channel in the upper-right corner.
- Select
Discord.
Field Reference
| Field | What It Does | Required |
|---|---|---|
| Channel name | A friendly name for this channel, such as "Discord Primary". | Required |
| Bot Token | The Discord bot token. | Required |
| Channel ID | The ID of the target text channel. | Required |
| Proxy URL (optional) | Use this only if Discord CDN access is unstable. Enter the full URL, including https://. | Optional |
Setup Steps
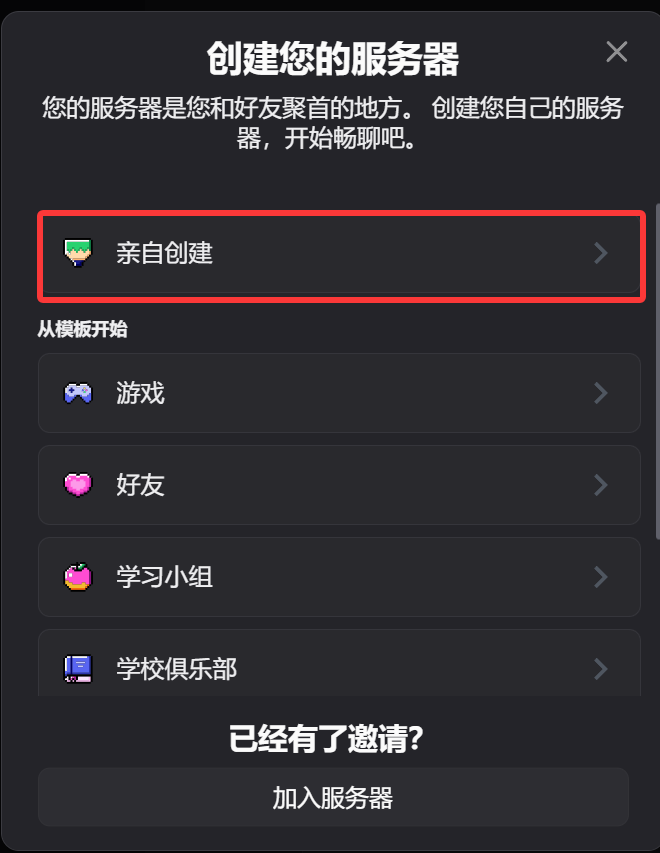
1. Create a Discord Server and Text Channel
- Open Discord.
- Create a new server, or use an existing server you own.
- Create a text channel in that server.
2. Create a Bot in the Discord Developer Portal
- Open the Discord Developer Portal:
https://discord.com/developers/applications - Click
New Application. - Enter an application name and create it.
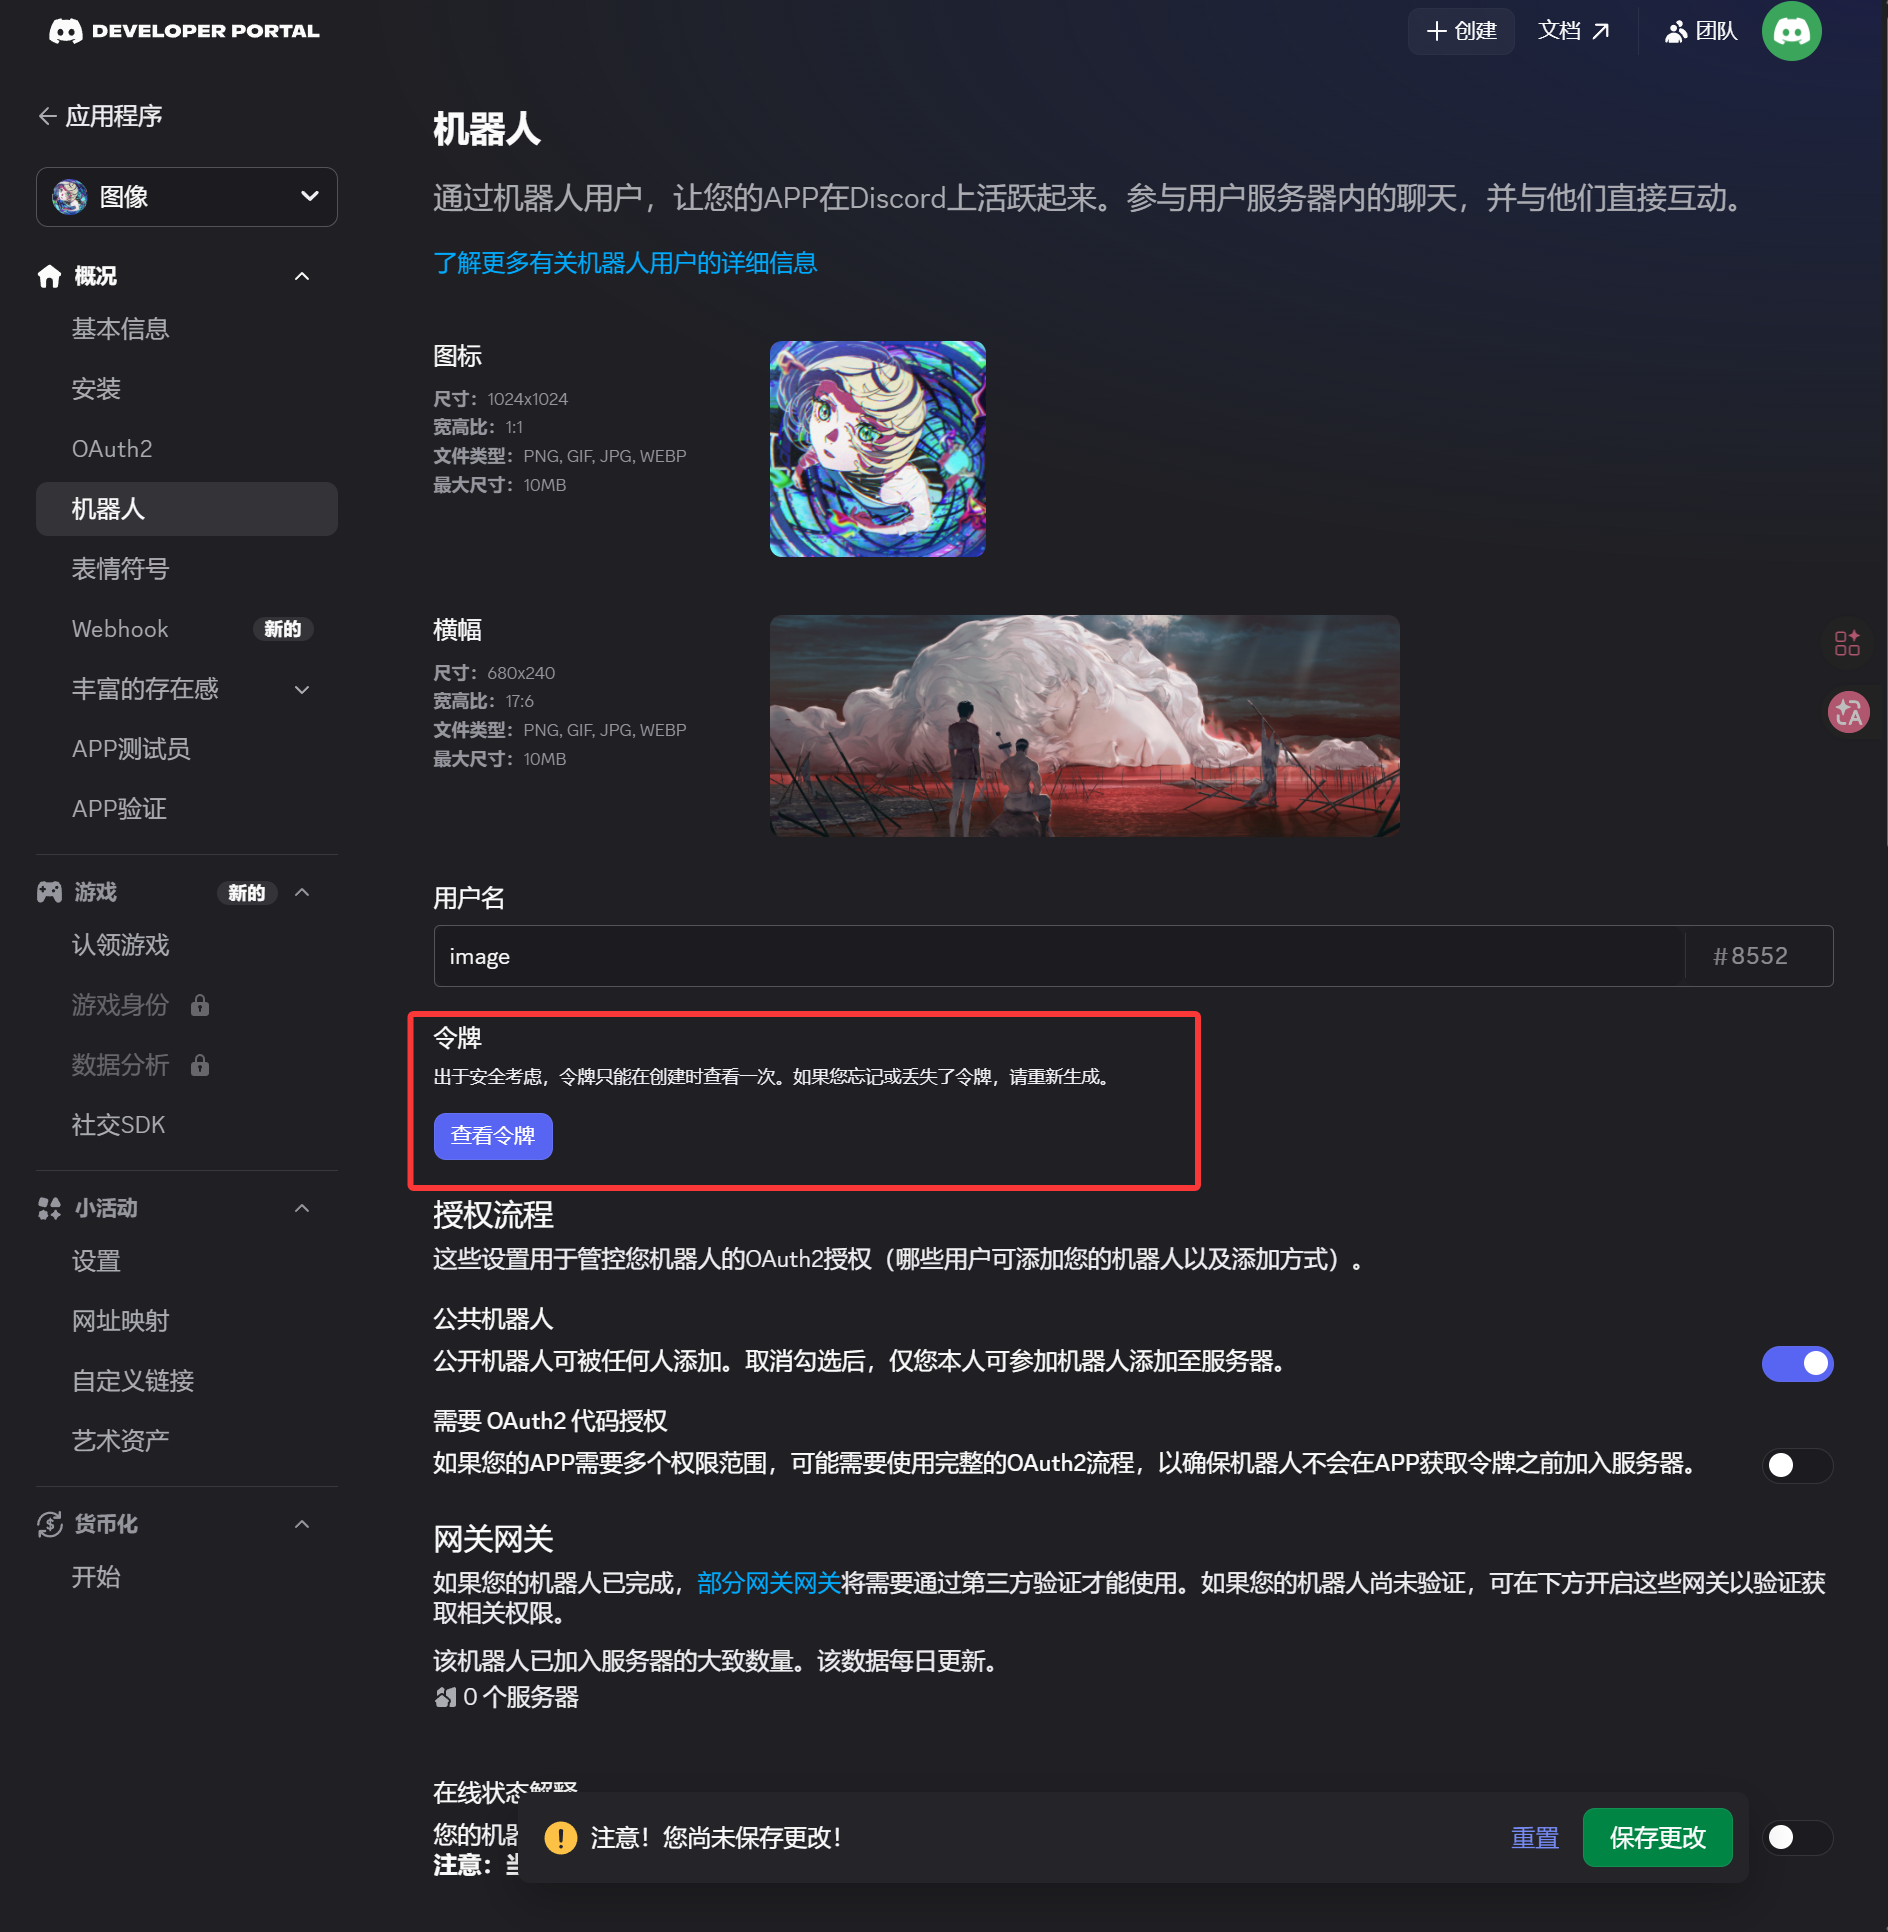
- Open the
Botpage from the left sidebar. - Generate or reset the token on the
Botpage. - Save the token.
This token is the Bot Token you need to enter in ImgBed.
3. Generate an OAuth2 Invite Link and Install the Bot
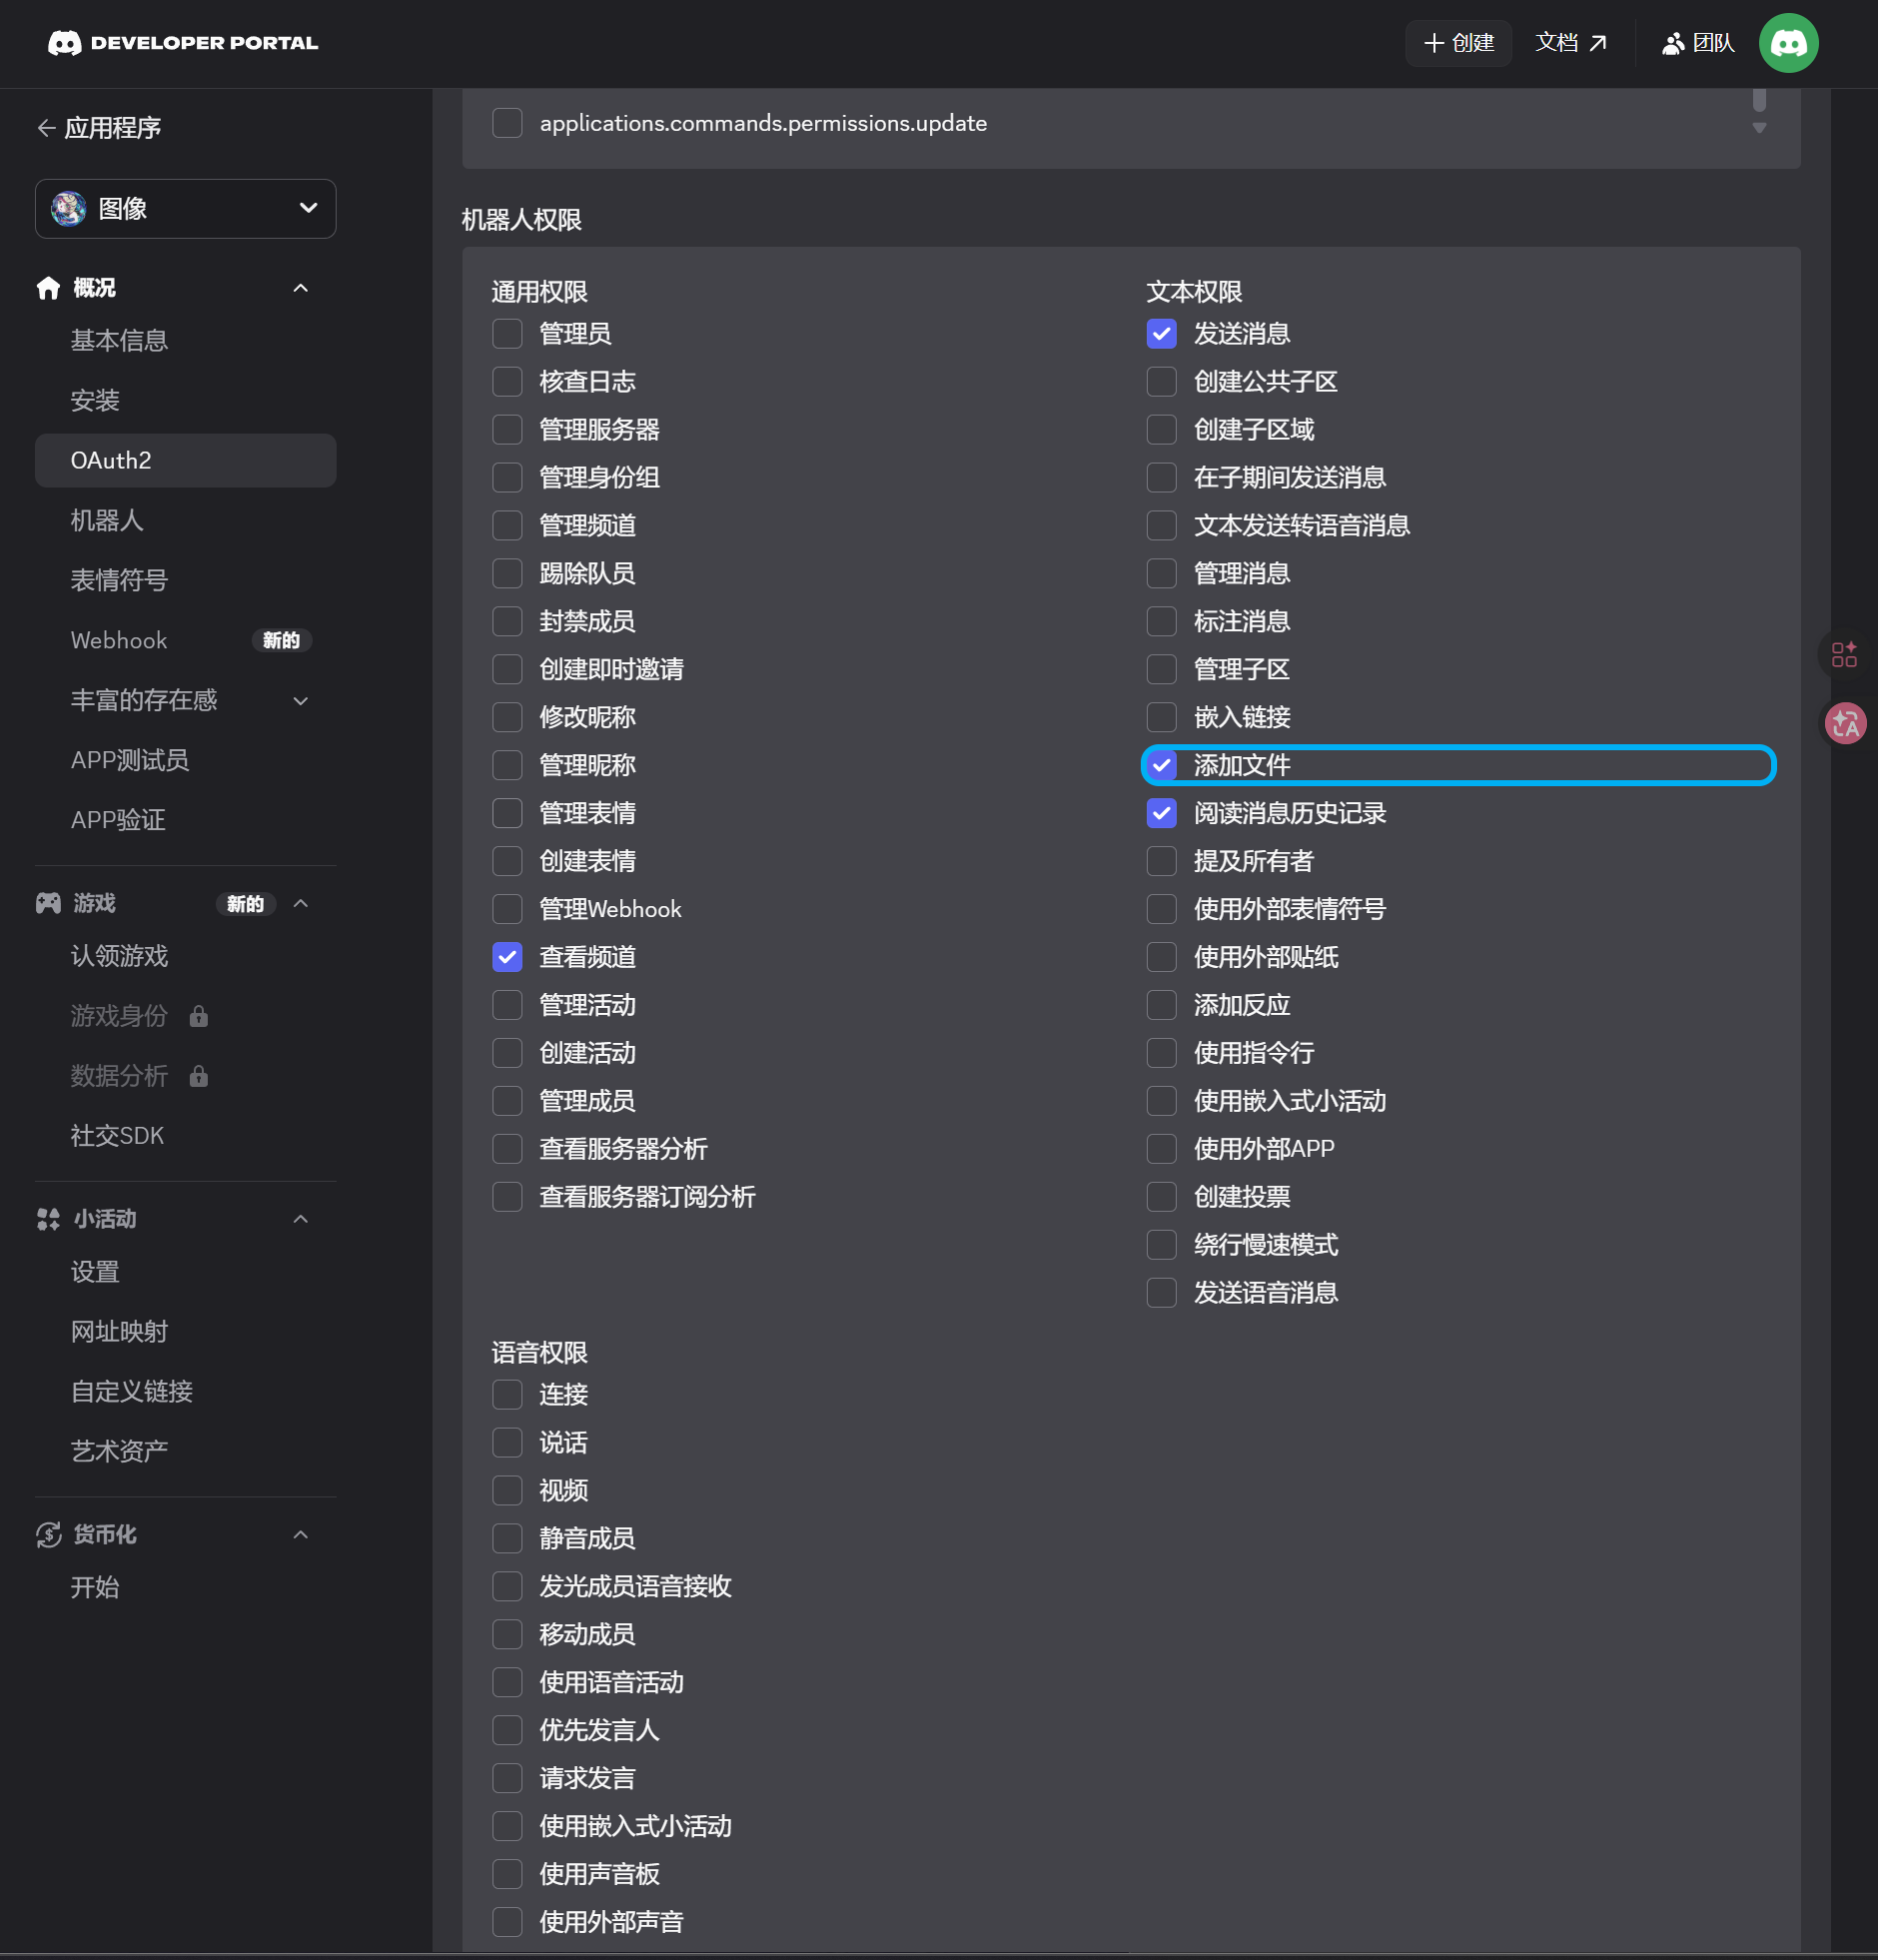
- Open the
OAuth2page from the left sidebar. - Under scopes, select
bot. - In the permission area, enable these permissions:
| Permission | Required |
|---|---|
| View Channels | Yes |
| Send Messages | Yes |
| Attach Files | Yes |
| Read Message History | Yes |
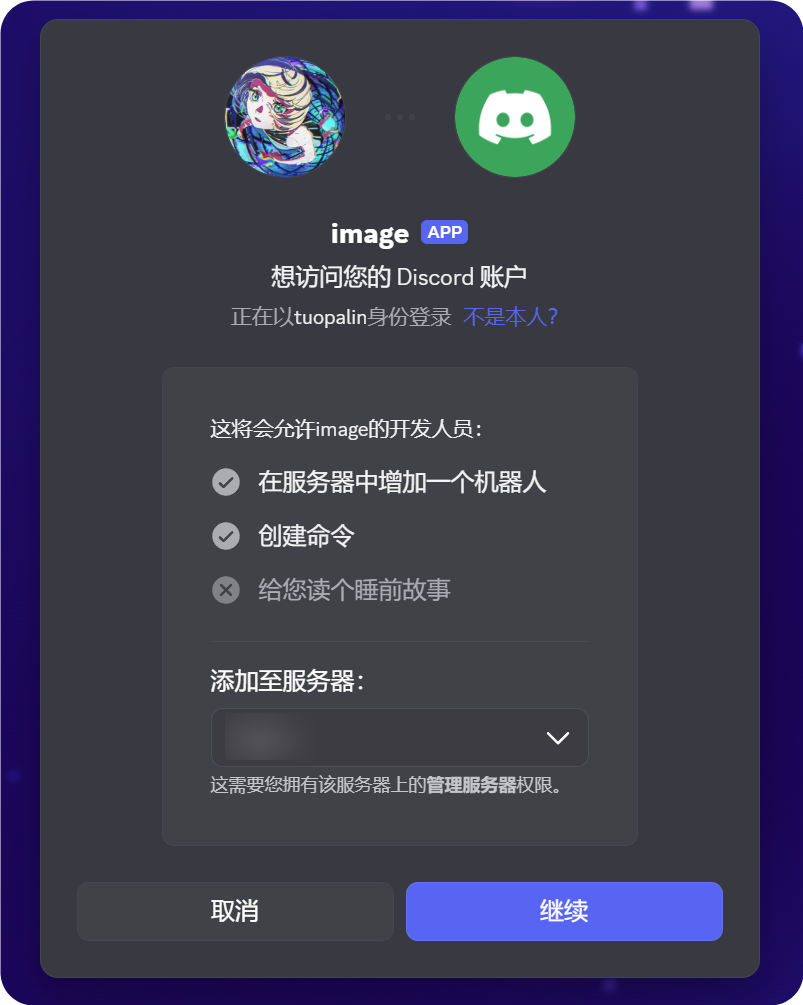
- At the bottom of the page, confirm that the integration type is
Guild Install. - Copy the generated URL.
- Open that URL in your browser.
- Select the target server.
- Complete the authorization flow.
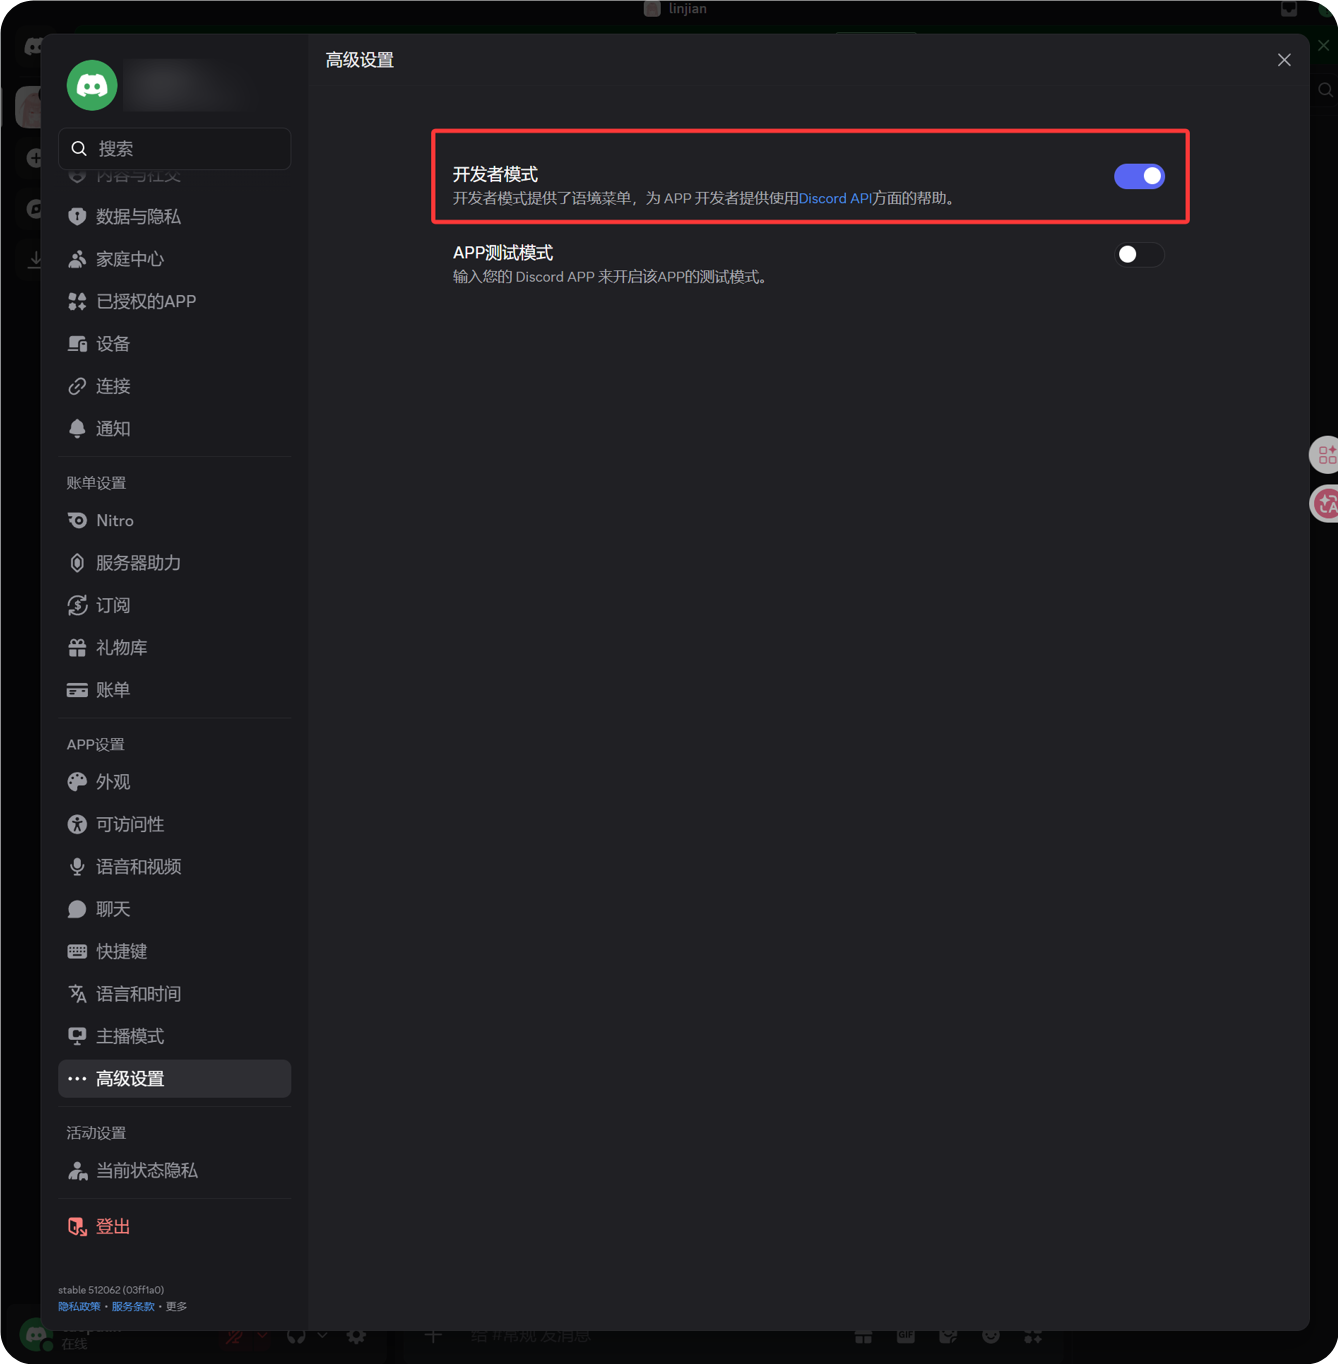
4. Enable Developer Mode and Copy the Channel ID
- Click the gear icon next to your avatar in the lower-left corner of Discord.
- Open Advanced from the left sidebar.
- Enable Developer Mode.
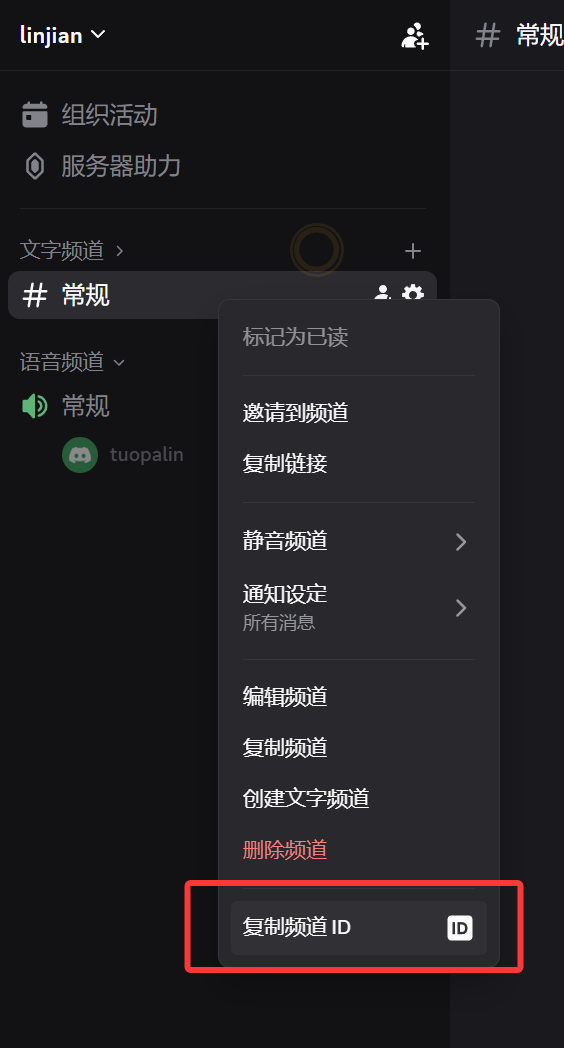
- Return to the target text channel.
- Right-click the channel name.
- Click Copy Channel ID.
The copied number is the Channel ID required by ImgBed.
5. Fill in the Discord Channel in ImgBed
Return to the channel configuration dialog and fill in the fields as follows:
| UI Field | Value |
|---|---|
| Channel name | A custom channel name, for example DiscordPrimary. |
| Bot Token | The token saved from the Bot page in the Discord Developer Portal. |
| Channel ID | The channel ID you copied from Discord. |
| Proxy URL (optional) | Only if needed, for example https://your-proxy.example.com. |
Click Save when you are done.

How to Verify It
| Check | How to Verify |
|---|---|
| Channel card appears | After saving, the Upload Settings page should show a Discord channel card. |
| Channel can be enabled | The Active switch should stay on. |
| Configuration is saved | The detail view should show that the Bot Token and Channel ID were saved. |
| Upload works | Upload a test image and confirm that it appears in the target Discord text channel. |
Quick Checklist
text
Create a Discord server
-> Create a text channel
-> Create a bot in the Discord Developer Portal
-> Save the Bot Token from the Bot page
-> In OAuth2, select bot, View Channels, Send Messages, Attach Files, and Read Message History
-> Copy the generated URL and authorize the bot for the target server
-> Make sure the target text channel grants the same permissions
-> Enable Developer Mode
-> Right-click the target text channel and copy the Channel ID
-> Enter the Bot Token and Channel ID in ImgBed
-> Save and upload a test image
References
- Discord Developers Getting Started: https://docs.discord.com/developers/quick-start/getting-started
- Discord Help - Where can I find my User/Server/Message ID: https://support.discord.com/hc/en-us/articles/206346498-Where-can-I-find-my-User-Server-Message-ID